
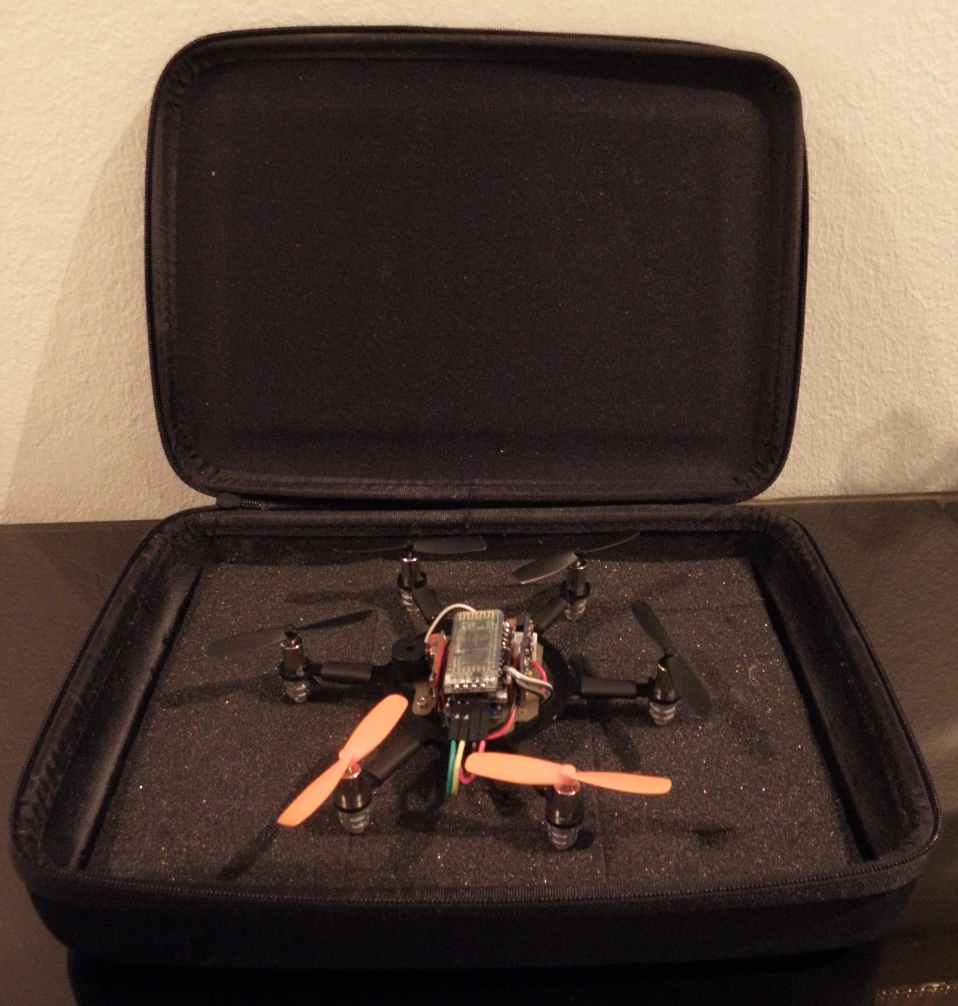
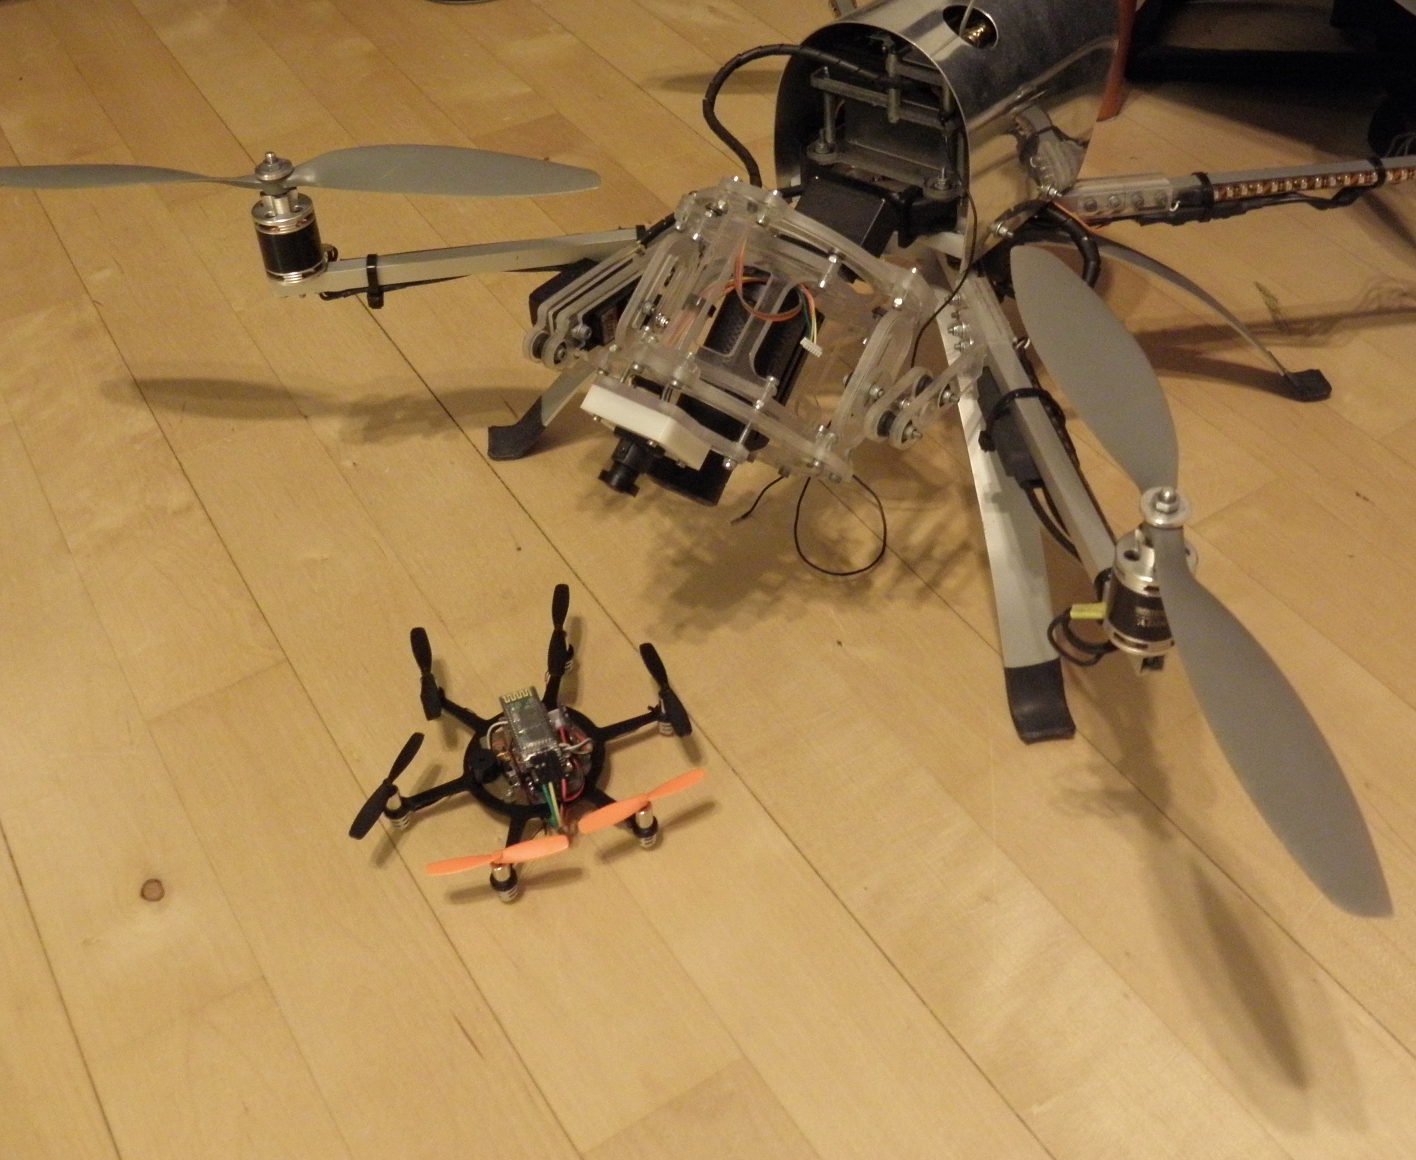
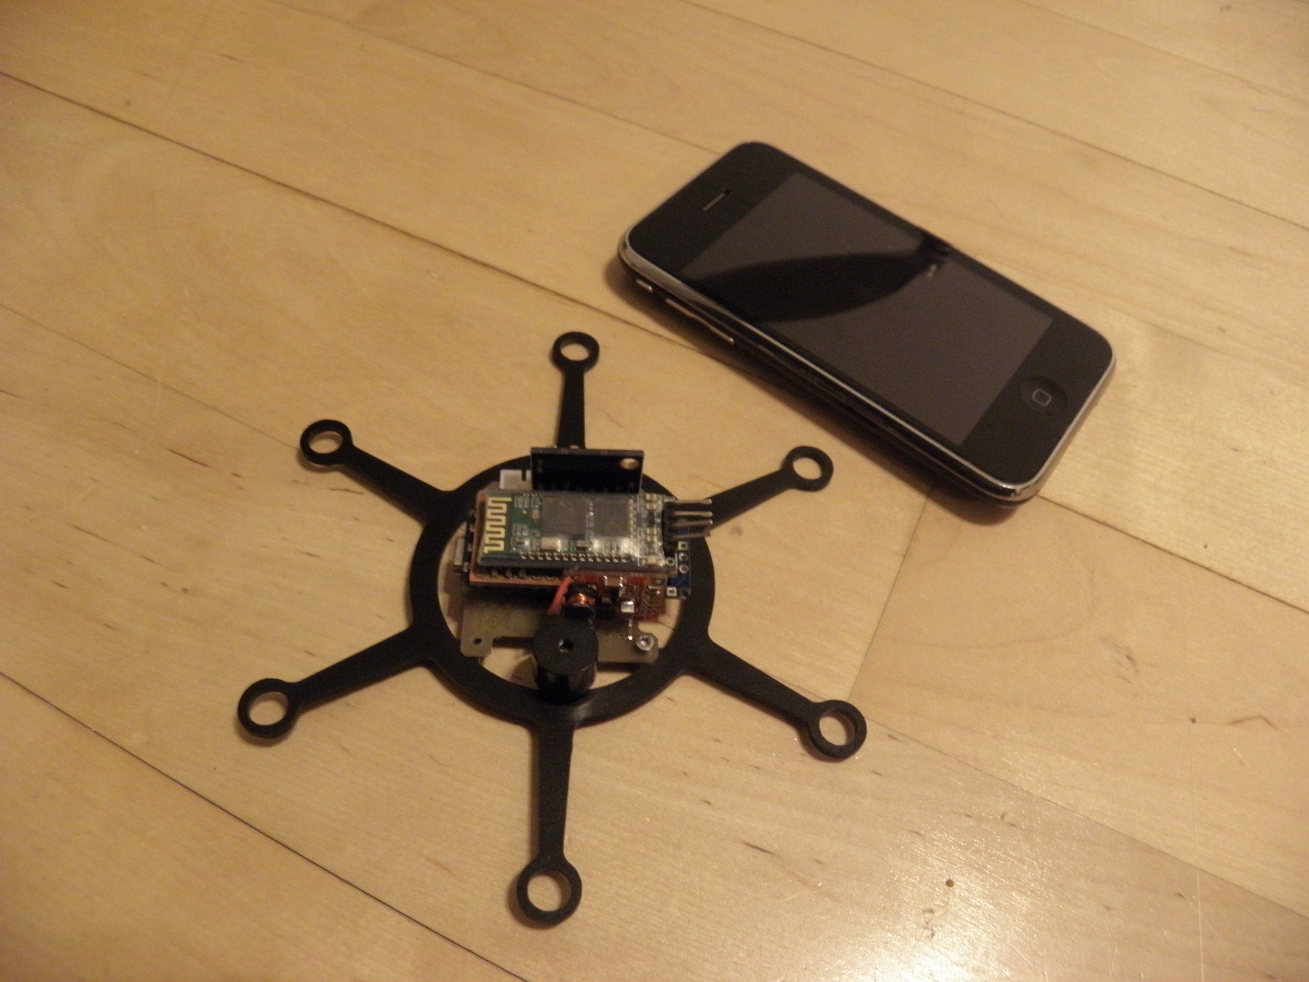
After completing The Beast, a huge photography multirotor, I was interested to try the opposite end of the multirotor spectrum. I wanted to see, how tiny machine I could create, using my own tools and skills. The result is the Little Devil, palm-sized small hexacopter which is safe to fly indoors and that can be carried almost in a pocket.
Although the Little Devil has its electronics exposed to save weight, the frame and motors protect the electronics. However, handling it requires some ESD precautions due to exposed electronics. But as my unintentional crash testing during tuning has proved, there seems to be no need for a cover.
The Little Devil has a very short flight time. It hogs its battery in under two minutes, but for a miniature flying portfolio of mine, I think it is enough. I find the shorter flight time acceptable, especially when I intentionally made it very rugged and a little overweight. Despite of its short flight time, the Little Devil is said to be very cute by everyone who has seen it fly. 😉
Electronics
Despite my goal to make as much as possible of the hardware needed myself, I had to use some ready-made parts too. Making everything from scratch was not possible or feasible as the parts I purchased ready, cost next-to-nothing at eBay. Of course, the size of the machine could have been reduced even more, if I had designed everything completely from scratch around a two- or four-layer circuit board, made professionally at a Chinese factory. But had it been made by me then? 😉

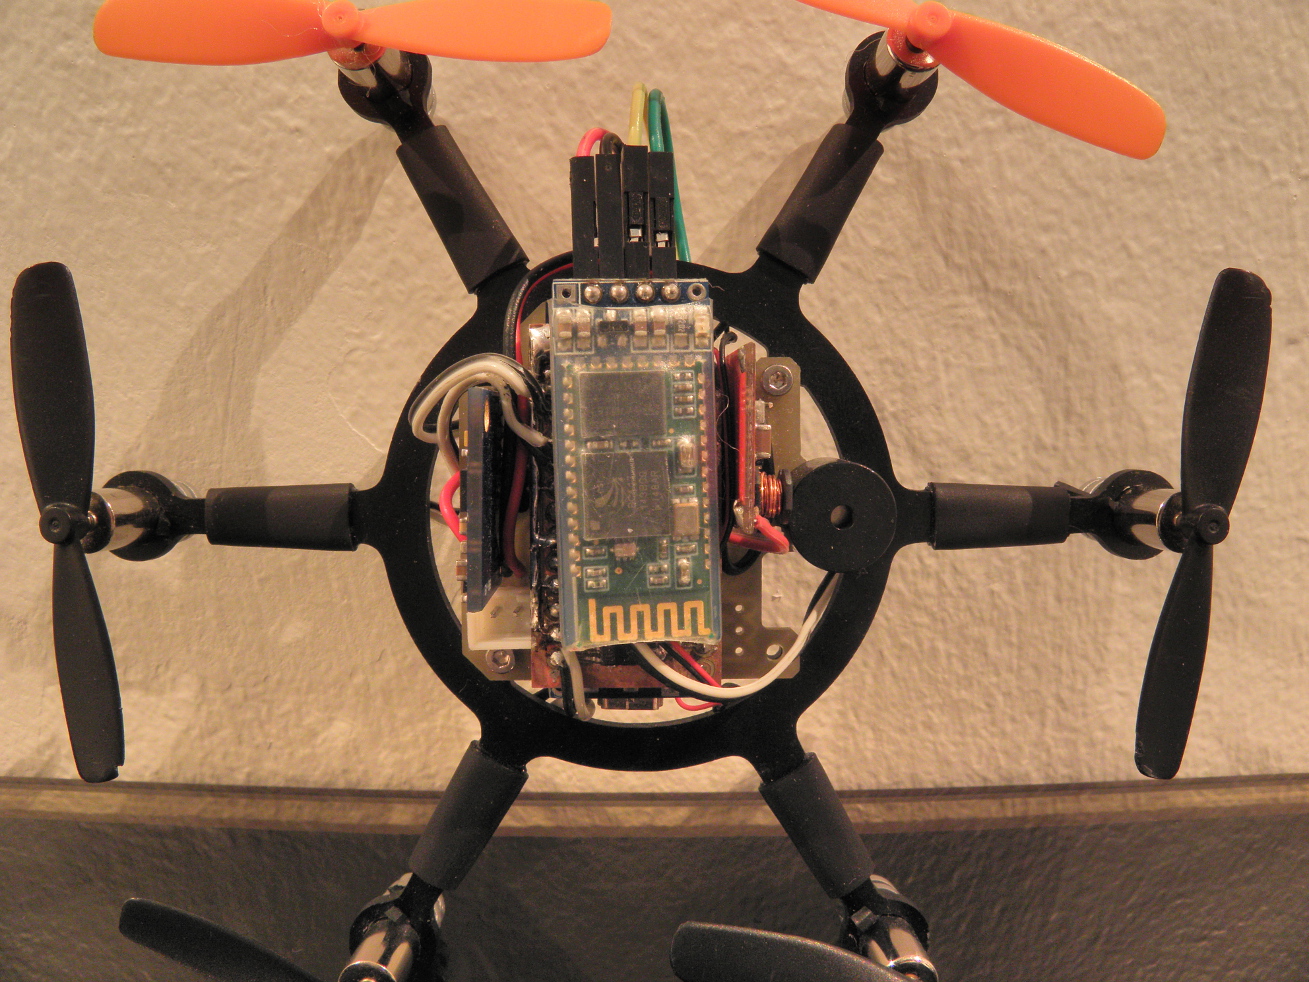
The LittleDevil, like my first Drone three years ago, is built around the Arduino Nano V3.0. What makes MultiWii -based model helicopters fascinating is their simplicity – the whole circuitry can be built around an Arduino with ease. For the LittleDevil, I made two circuit boards that were attached on the Arduino. One of the boards contains six MosFET power transistors to drive the motors while another one connects sensors and peripherals to the Arduino.
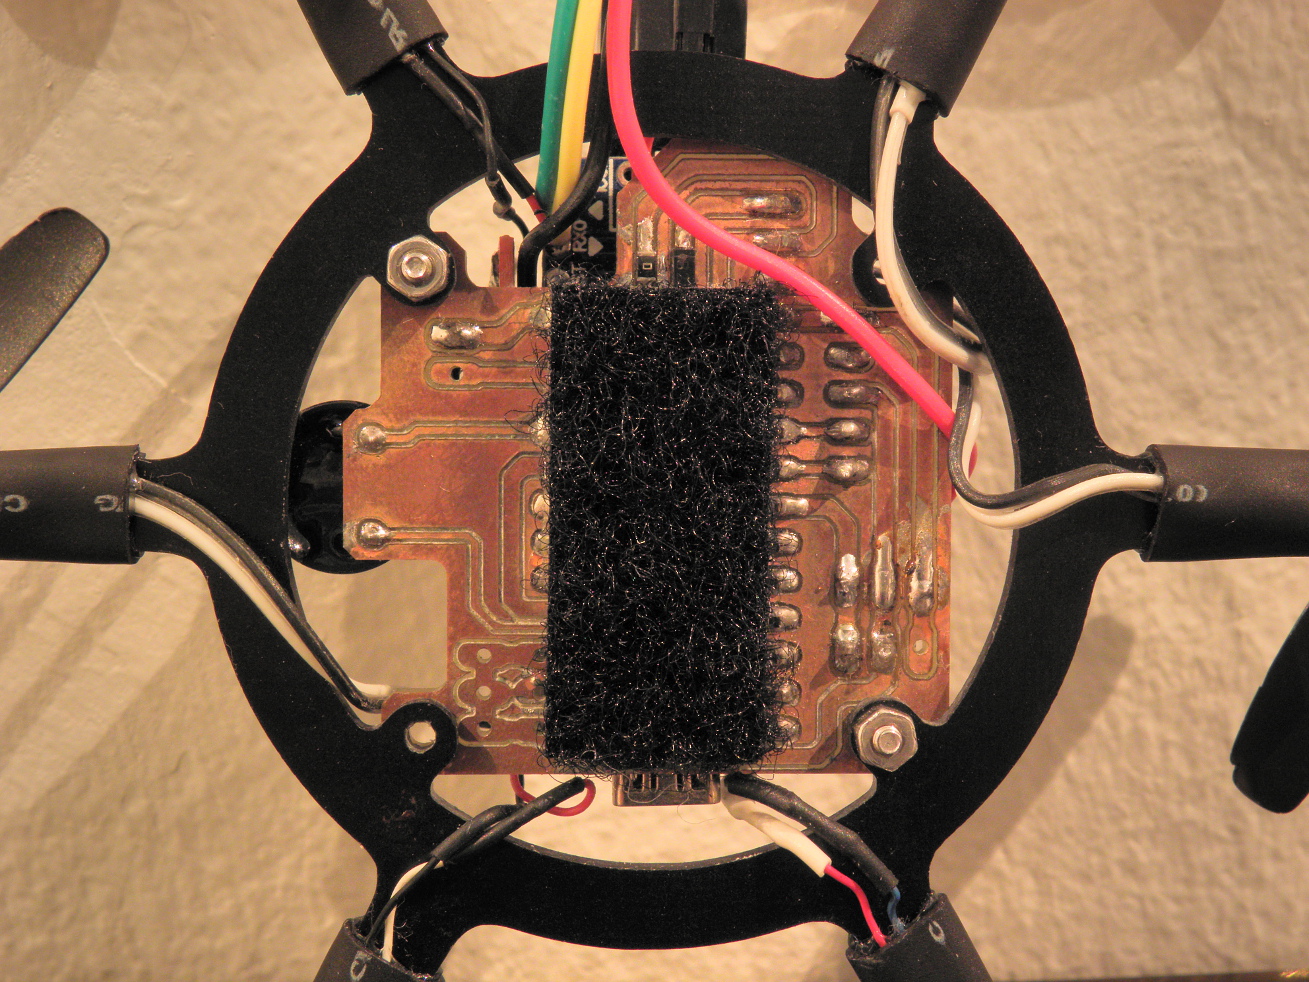
The board with power transistors was my first project with surface-mount components. The resistors are 0805 sized which made assembling the board rather easy. The power transistors were taken from an old speed controller of the larger Drone. I had to make small modifications to the board after it was completed as I underestimated the power consumption of the motors but now it works fine.
The bottom board attaches the sensor board, boost converter, buzzer and one extra power transistor to the Arduino. The GY-86 IMU board is the blue one, mounted on the right side of the copter. It has a MPU 6050 gyro/accelerometer, HMC 5883L magnetometer and MS5611 barometer. As the copter will be powered using a single-cell, 3.7-volt lithium polymer battery, a boost converter was needed for the Arduino which runs on 5 volts. The boost converter is the red little circuit board mounted upright on the bottom board. The topmost board is a Bluetooth tranceiver. All the communication and control is through it. The range of the Bluetooth is only tens of meters, but it is sufficient.
Buzzer is installed as an fail-safe option. If the copter gets disconnected when flown outdoors, it can be found with the help of loud beeps, from thick grass, bushes or where ever it has flown.
Both of these boards were designed in Eagle and manufactured using my small CNC milling machine. They are one-sided as making vias that connect the circuits on the sides into each another, is rather difficult.
Software
Like many of my creations, also the Little Devil runs the MultiWii which is once again modified by me. As I wanted to use as much my big Drone‘s software, I ended up making a version of MultiWii that has the old communication protocol from version 1.8 and my own fail-safe code, combined with the new IMU, sensor and motor drive code from the latest 2.3 version. This combination works fine and the little hexacopter is extremely stable and nice to fly. The flight control over Bluetooth is very similar to XBee, also with no latency problems. Minor modifications that I made, include sensor orientation modifications as the sensor board is mounted in upright position and pin-out re-assignments since my hardware differs a little from the default assignments.
By using the old, modified communication protocol, I can not use the provided configuration software of the MultiWii. Instead of it, I use my own programs, that are written in Python and can be run on any device that has a Python interpreter installed.
The server and client programs that I borrowed from my Drone project, had to be modified a little too, for example to show data of two additional motors. Also code that provided functionality for driving a camera gimbal, was removed. But everything that was needed for telemetry and control over serial link, like XBee or Bluetooth, has already been there since the first flight of my first Drone. 😉
Frame
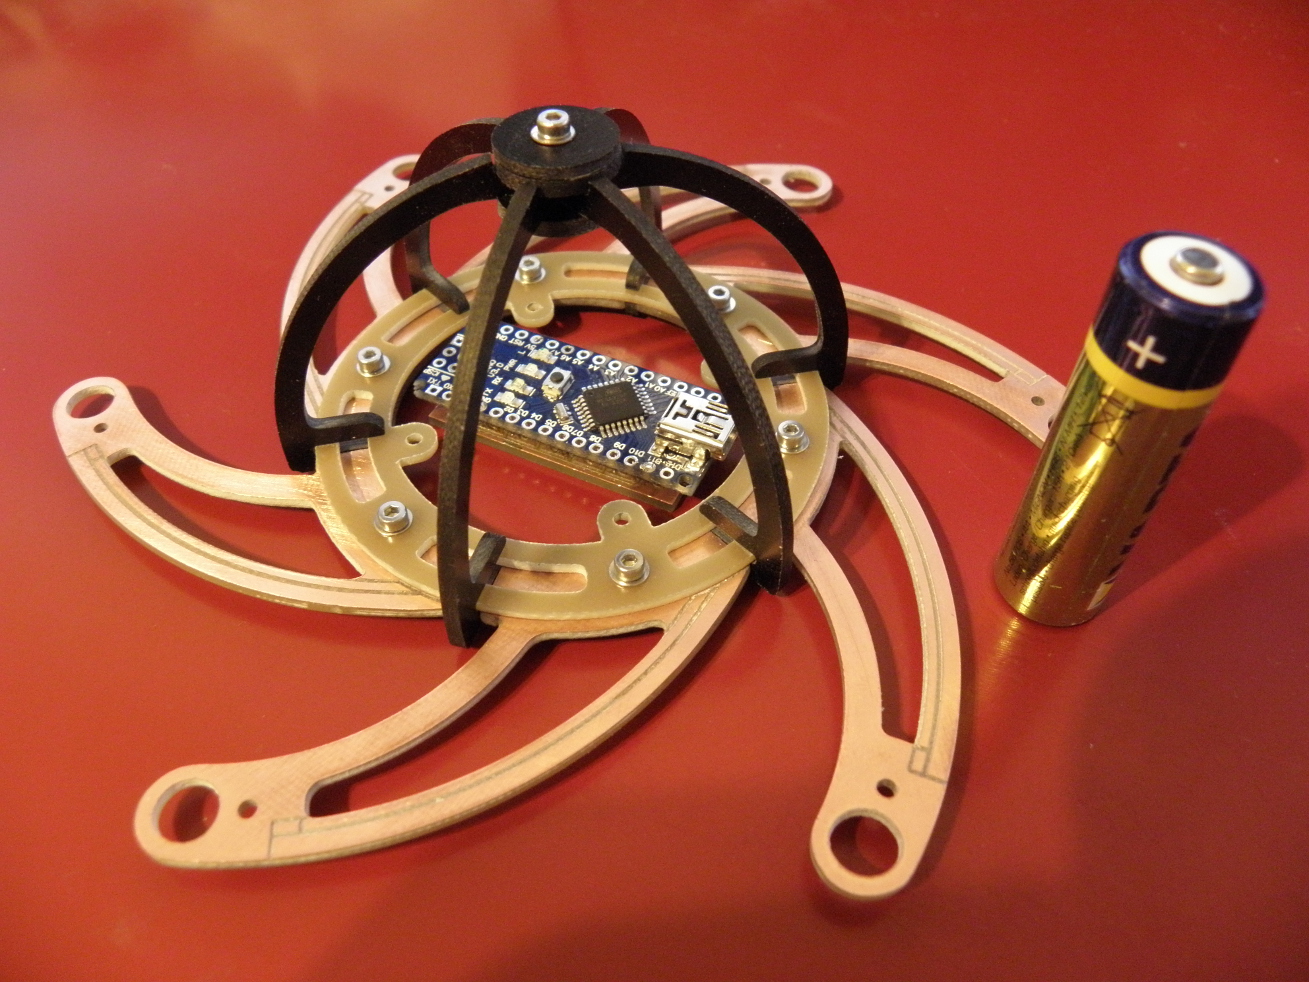
The strong but light-weight frame was made of black “FR4” fiberglass board which I bought from Uraltone. Two attempts were needed, the first frame being too heavy to fly. It weighed approximately 50 grams and featured power transfer to motors and LEDs below the propellers using copper clad boards without wires. But it never flew.
The another frame was made a lot simpler and lighter, being only one part cut from 2 mm thick glass fiber board. The electronics are mounted on the frame using two screws. It ended up being a little bit too heavy, but it can handle rough handling very well. It is always easier to change batteries a little more often, than rebuilding the machine after every hard landing! 😉
Motors
Instead of brushless motors used normally in multirotors, the mini hexrotor was built using brushed motors. As cheap quadrotor toys became available, so did their spare parts too. The motors are from Walkera’s Ladybird litte toy quad. Being light, powerful and readily available, they were a good choice for the project. With their little propellers, each of them produces ~11 grams of thrust. The brushed motors offer the same kind of stability than brushless ones and their control electronics are far simpler (and lighter). Small 50 mm propellers, also from the Ladybird quad, are attached on the motors. The motors are wedged in place using small rubber strips. This is both lightweight and durable way to mount the small motors.