A few years ago I purchased an USB-attached digital tv tuner box, branded Anysee, which, like all the other ones available back then, were bundled with a viewing software and drivers that were awful. Bugs, high cpu load, corrupted recordings and a multi-hundred-megabyte installation combined with a need to have a metal box and several meters of antenna cable hanging from my laptop, did not make me too impressed. After playing with the AnyNonesee and with its software and cables for a while, I needed to find some other way to watch TV on my computer.
After Googling around the Web, I found that Video for Linux -drivers were hacked together for this particular Nonesee USB DVB box. Back then, the software of choice for DVB viewing was Kaffeine which was good, but I become interested if I could stream the video from my desktop machine to my laptop. This way I could watch TV with my laptop anywhere I want without the antenna cable hanging from my laptop.
I did not want to set up a fully blown HTPC system. Instead of it I recalled that the VLC player had features for DVB viewing and media streaming. After reading the documentation, I found out the correct parameters for tuning a channel and stream it over HTTP to the network. The very versatile VLC player also offers several user interfaces for different kinds of use. One of these is a Telnet interface, which can be used to control every function of the player over command-line. This included also channel tuning, selection and media streaming. Great – now I had everything I needed.
As channel surfing using Telnet command line was not comfortable, I wrote a small software to change channels and launch the VLC player on the client PC. The version for Windows was written on Visual Basic and an experimental version for OSX, Linux or Windows was written using Python. Both versions are available at the attached ZIP file.
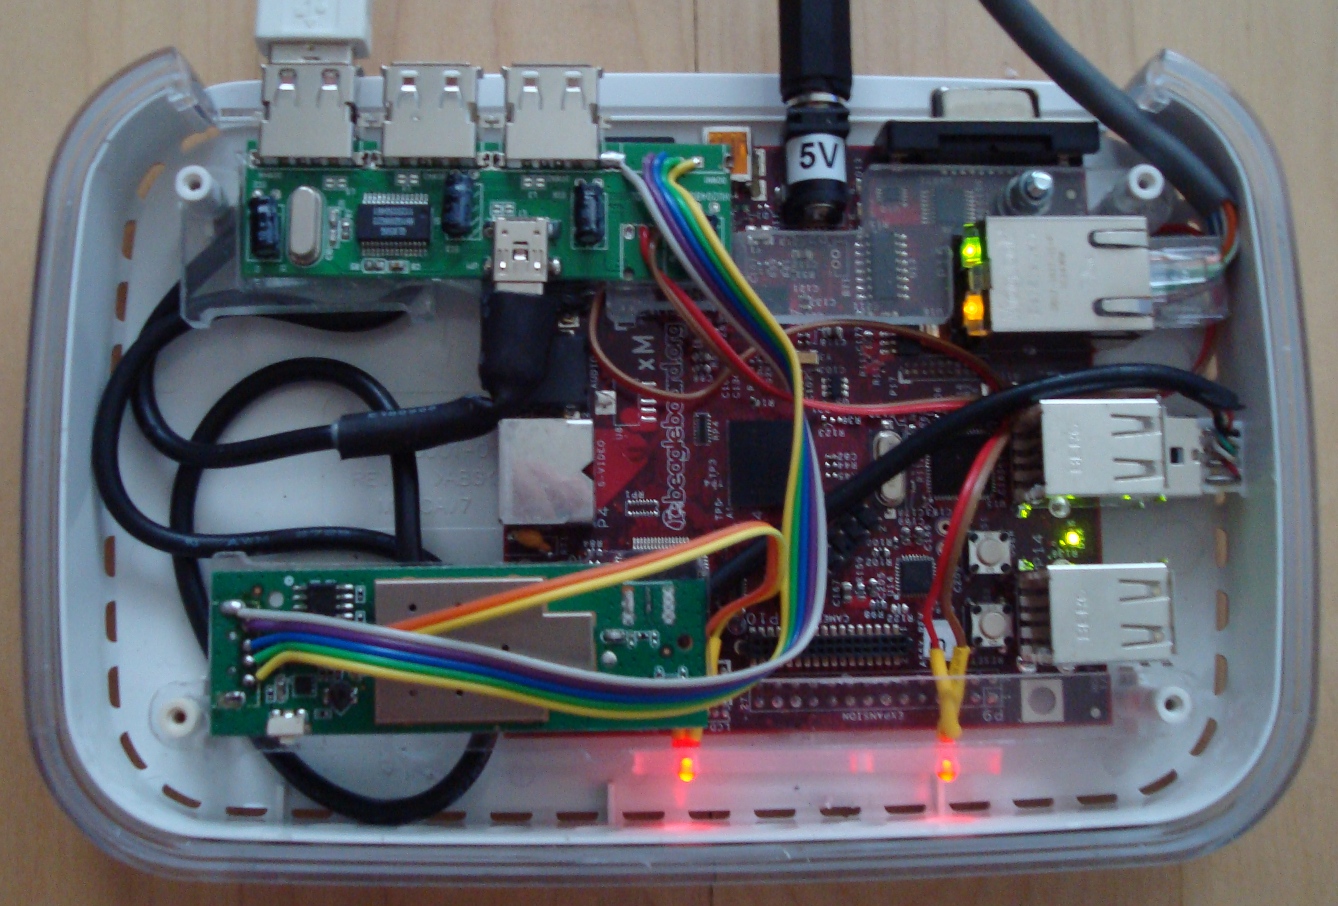
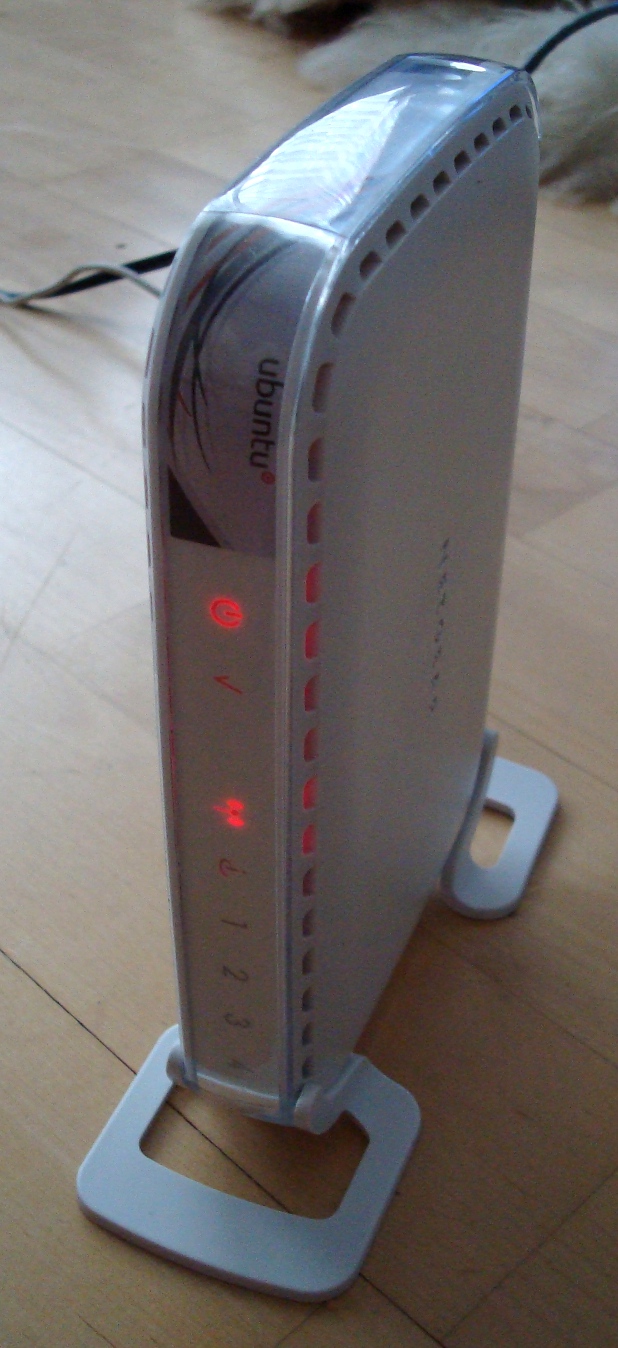
Although the DVB streaming works perfectly using a PC, there is another way. A while ago I got a Beagleboard XM single board computer which was a good base for a small, low-power Linux server. I use it to stream the DVB to my WLAN. For a compact enclosure, I took my old Netgear wireless router and took its innards away to make room for the Beagleboard and peripherals. I machined few brackets out of polycarbonat eto attach the Beagleboard inside its case and soldered an USB hub, a wireless network adapter and necessary LED’s in place. And a printed Ubuntu sticker for a finishing touch. 😉
Requirements
You
- Basic Windows and Linux command line skills
- A little understanding of Visual Basic or Python.
- Although this is not a plug-n-play solution, it’s not rocket surgery either. As you are still reading this, you probably know enough of computers to get this thing operational! 😉
Server side
- A Linux running computer or embedded device. It can be a PC, the BeagleBoard, maybe also a Raspberry PI or a hacked router. Streaming does not require much processing power as no transcoding is done. Channels are streamed individually, so the bandwidth requirement is also low.
- Working VLC installation with DVB and Telnet support compiled in. Distributions like Ubuntu usually have these working out of box.
- A DVB device that is supported by Linux video drivers.
- DVB-utils to scan the channels and to create a channel tuning data file
Client side
Windows PC:
- Windows XP, Vista, Windows 7, Windows 8.
- Visual Basic Express Edition to modify the settings
- VLC Player installed
Linux and OSX
- Some version of Python installed
- Text editor of choice
- VLC Player installed
Setting up the server side
1.
Plug in the DVB tuner. Make sure it works. Using the command dmesg you should see some lines telling you that a new device has been plugged in and hopefully also detected.
2.
Scan the available channels using the scan software of DVB-utils. The following commands work on Ubuntu Linux.
ubuntu@omap:~$ scan -v /usr/share/dvb/dvb-t/fi-Anjalankoski >> channels_dvb.conf
The /usr/share/dvb contains pre-tuning data files for the area you live in. They are divided in terrestrial, cable and satellite transmissions. Select the transmitter that covers your area. For example, I live currently at Kouvola and the transmitter is located at Anjalankoski, 30 kilometers away. The command produces a tuning data file named channels_dvb.conf. Get this from the Linux server machine to the one you watch the TV with. We’ll deal with it later.
3.
Start the VLC using the following parameters:
vlc --intf ncurses --extraintf telnet,http --telnet-host 192.168.0.11 --telnet-password v
This launches the VLC with a ncurses interface with a telnet server running in background. The host is the IP address of the machine the server is run on. The password for telnet user interface is “v”. Use it or something else like eight zeros but remember to modify it on the client, too. If some other enginerd than you has access to your network, you might want a little stronger password so that they can not change the channels or media to something involving midgets, while you are watching TV.
Setting up the client side
1.
Open the channels.conf text file to a text editor. You made this file on the server using the “scan” command. For DVB-T, it should contain lines like the following:
Yle TV1:482000000:INVERSION_AUTO:BANDWIDTH_8_MHZ:FEC_2_3:FEC_AUTO:QAM_64:TRANSMISSION_MODE_8K:GUARD_INTERVAL_1_8:HIERARCHY_NONE:512:650:17
Yle TV2:482000000:INVERSION_AUTO:BANDWIDTH_8_MHZ:FEC_2_3:FEC_AUTO:QAM_64:TRANSMISSION_MODE_8K:GUARD_INTERVAL_1_8:HIERARCHY_NONE:513:660:33
Yle Fem:482000000:INVERSION_AUTO:BANDWIDTH_8_MHZ:FEC_2_3:FEC_AUTO:QAM_64:TRANSMISSION_MODE_8K:GUARD_INTERVAL_1_8:HIERARCHY_NONE:514:670:81
Here we have three channels with their tuning data, Yle TV1, Yle TV2 and Yle Fem. The lines are not wrapped in the text file like they are on this page. Each line is for one channel. Delete the channels you do not want to be listed by deleting the complete line. Arrange the channels with copy-paste to the order you want. Rename the channels if you want but do not edit anything other. Save the file with the name channels.conf if you use DVB-C or channels_dvbt.conf if you use DVB-T. You can of course change the names at the source code which you will modify next.
2. Visual Basic client for Windows machines (preferred!)
Get the Visual Basic Express Edition from Microsoft and install it. With a simple registration you’ll get a nice software development tool for personal use.
Unzip the DVB-C_012014.zip. Open \Projects\WindowsApplication1\WindowsApplication1.sln to the Visual Basic editor. With the file opened, press F7 to open the code window.
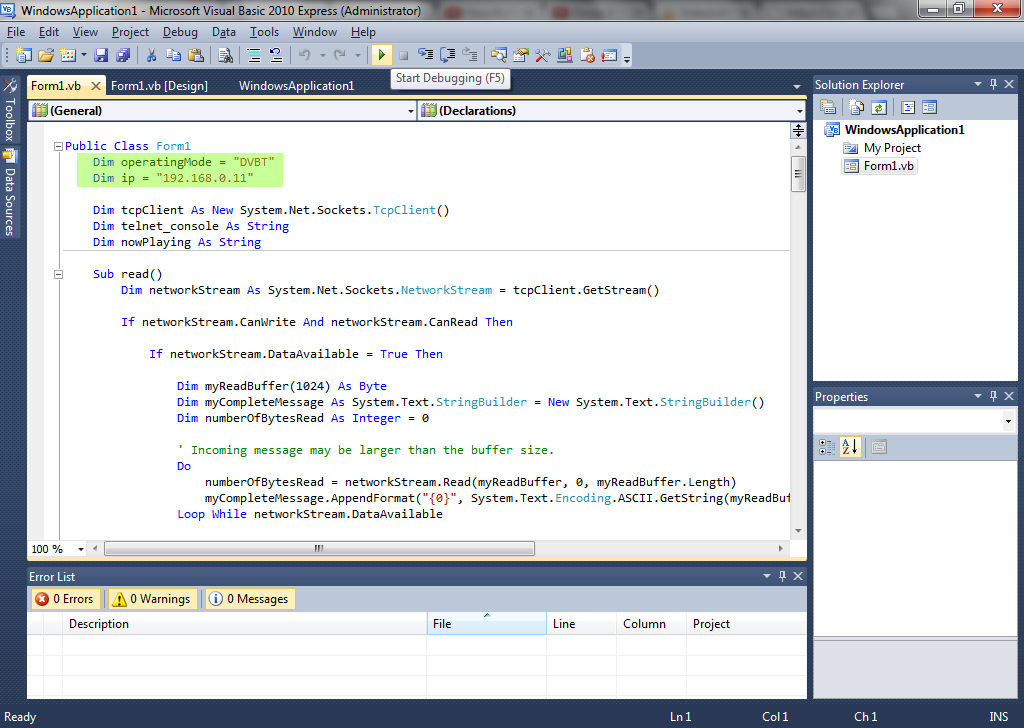
The lines you are interested in are highlighted in green. Change the following lines:
Dim operatingMode = “DVBT”
Keep as it is if you use terrestrial tuner, replace “DVBT” with “DVBC” if you are using a cable tuner.
Dim ip = “192.168.0.11”
Replace with the IP of the Linux box you configured earlier. Goto Debug menu and select Build WindowsApplication1. The Visual Basic compiles the program and outputs the executable file to \Projects\WindowsApplication1\WindowsApplication1\bin\Release\DVB.exe. Copy this file to the same directory you have the channels.conf or channels_dvbt.conf.
3. Run the application and watch the TV.
If the VLC is running at the server, the DVB box is working, the channels.conf is OK and the VLC works at the client, you should see TV now. By pressing the “rec” button, the application launches a new instance of the VLC that dumps the stream to the file as a record. The application records in the same directory it is located.
4. Hacking. Command-line Python script for OSX, Linux and Windows machines
This script is a completely experimental, quick and dirty hack. I used this only few times as a “proof-of-concept” on OSX and I have not used this since then. It requires some editing to get it running. Instead of daily use, this script could be used as a basis for your own client application. If you make something nice out of these, please let me know! 😉
As I do not have a OSX or Linux machine or the DVB-C at the moment, I don’t know whether the code works currently or not. The DVB-T should work. The tuning parameters may require some tweaking with the help of the Visual Basic code which works with the DVB-T and DVB-C. The lines that may have to be modified, can be found between lines 107 and 116, like
tx_buf = tx_buf + 'setup ' + str(channel_name) + ' option dvb-adapter=0' + '\n'
But if you would like to get your hands dirty with this, do the following:
Unzip the DVB-C_012014.zip.
Open dvb_osx.py from the root directory of the archive to your text editor
Change the line 5, stream_ip = “127.0.0.1” to point at the IP address of your streaming server.
Change the line 12, dvb_mode = “DVBC” according to the DVB system you are using (DVBT/DVBC)
Keep the line 13, system_type = “UNIX” if you are using Linux or OSX, change to “WIN” if you are using Windows
Change the VLC path / command on lines 193 and 205.
Place the dvb_osx.py and channels.conf to the same folder. The filename channels.conf is used regardless of DVB-T or DVB-C, unlike with the Windows client.
Launch the application with command python dvb_osx.py.
Write a channel number you would like to see. Write rec to record and q to quit. The application will open a Finnish TV guide web site to Safari if you write “tel”.