Introduction
In the beginning of 2000’s, the WinAmp was widely used software for playing MP3’s, with many of its plug-ins. One plug-in was particularly interesting: a DSP software called Izotope Ozone that altered the sound to resemble an old tube amplifier. As I mainly listen hard rock, this tube sound was something I immediately liked. After using the Ozone for a while, I become interested in tube audio and building my own amp became necessary. Although the Ozone models those old amps very well, the real thing is always a nice to have.
What is a tube amplifier and what makes it better?

The vacuum tubes, a main ingredient when building a tube amplifier, are technology from the past. They were common before the transistors which revolutionized the electronics in 1960’s, making compact electronic devices and later microprocessors possible. The tubes itself are glass bulbs, similar to light bulbs, with glowing-hot metal parts, electrodes, inside. The heated parts emit a powerful electron stream which then travels inside the vacuum from electrode to another, controlled or modulated by a smaller input voltage, which makes them work as an switch or amplify a signal, similar to transistors.
For some reason which – to be honest – is somewhat unknown to me, the signal that is amplified using tubes, sounds different than one that has gone through modern “solid-state” devices. It is said to be due the imperfections of the tubes, and their nature to produce harmonic distortions that human ears like. Nevertheless, the sound that tube amps produce, is more enjoyable. As it’s impossible to describe a sound using words, get the Ozone plug-in for WinAmp and try it yourself! 😉
Different approaches to get the tube sound
To achieve the desired tube sound, there are few alternatives with their advantages and drawbacks. Probably the most common way is to build a power amplifier by following some old schematics. These designs date back to the 1950’s and are built using heavy iron transformers and high voltage components that are hard to find and very expensive. Previous knowledge (and certificates) of working with high voltage electronics are also needed as the power amplifiers can operate with voltages well over 500 volts with enough current to make an elephant go up in smoke. They draw huge amounts of power and produce a way more heat than sonic power. Not too sophisticated for the 21th century.. 😉
Building a power amplifier is not the only way to achieve the desired vintage sound. A vacuum tube pre-amplifier that is placed between a signal source and power amplifier that could be a modern solid-state one, produces the same sound with less expensive and safer construction. This approach was recommended for me by one Finnish vacuum tube professional, nick-named Tonskulus, who also kindly provided me the schematics and even tubes I needed. As this approach also did not necessarily require working with hazardous voltages, I chose this approach.
Chassis
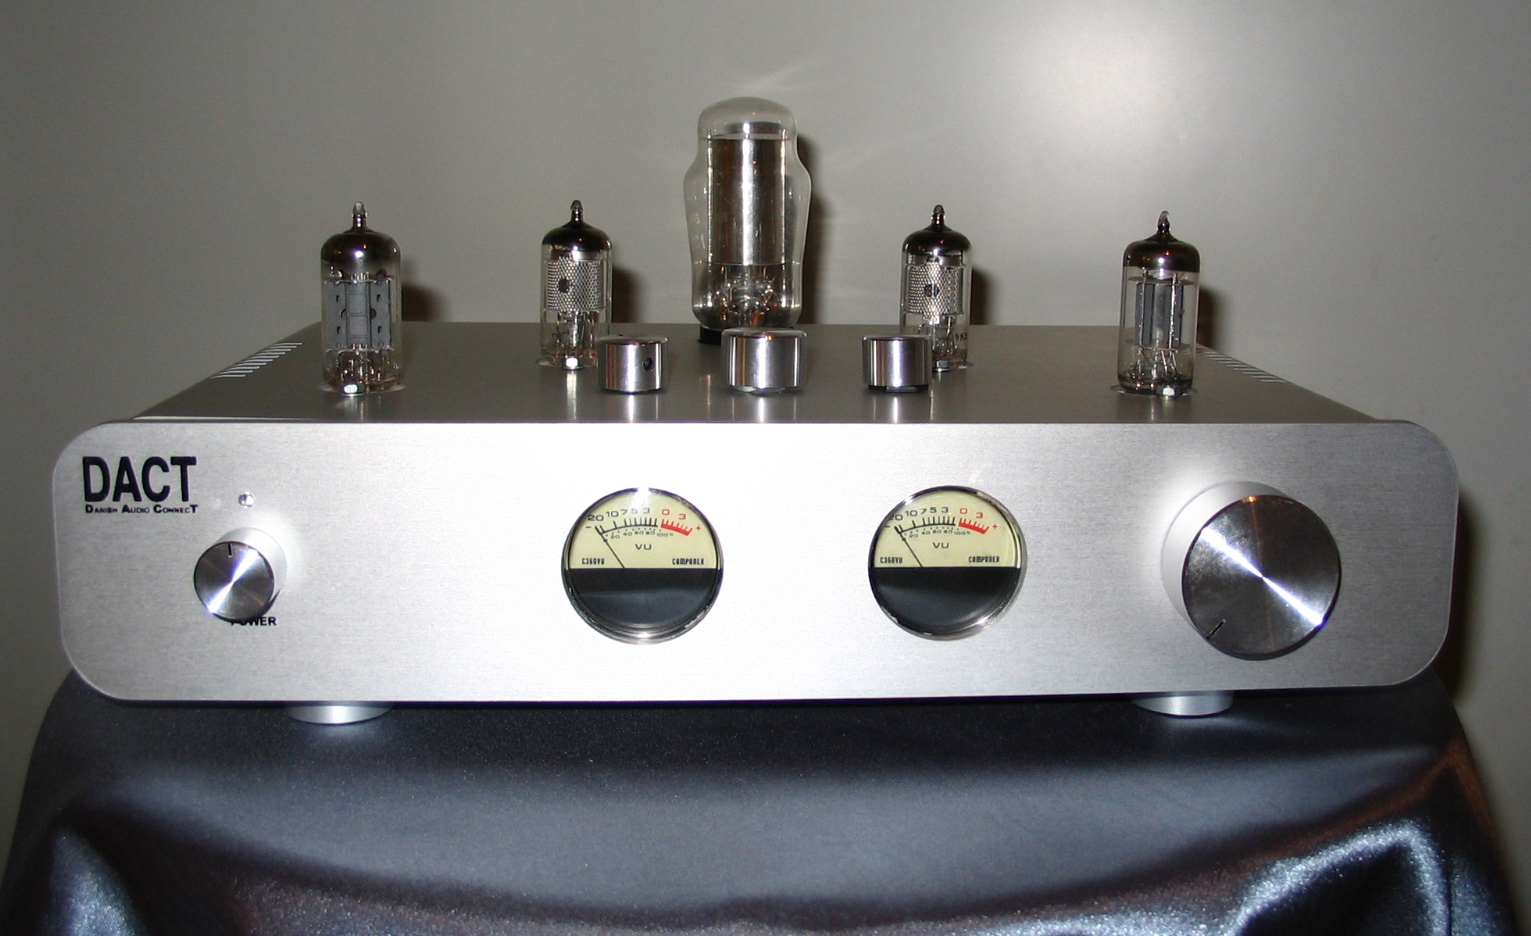
The chassis of the amp was rather difficult to find. At first I was planning to build the amp inside of a chassis of an old Ethernet switch but it did not look good enough. I browsed the web for suitable chassis and found one, made of brushed and anodized aluminum by Danish company DACT.
As at the time of making I had no drilling press, the chassis was prepared for circuit installation at a local metalwork shop by drilling the holes for tubes, VU meters, connectors and knobs.
Tube circuitry
The schematic I got from Tonskulus, featured a pre-amp circuitry with bass and treble controls, built around small signal tubes EF85 and ECC83. The EF85 is a small-signal pentode and the ECC83 (also known as the 12AX7) is a dual triode that is even in 2013 very popular tube that is used widely in guitar amplifiers. They can still be purchased new. The tubes I have are 40 to 50 years old unused ones, that many consider better in terms of sound quality than the ones that are still made.
A Philips 150C1 volt stabilizer tube was also added because of its nice looks; this gas-filled discharge tube glows purple when it operates.
The circuit is assembled using a so called point-to-point topology; connecting the components directly to each other without circuit boards, like all of the old tube circuits found on old radios and other devices. It is not too beautiful but well, it works.
The power supply
The tubes require a low voltage supply to heat them up to their operating temperature and also a higher voltage supply to make the thermionic emission, the electron flow that makes them work, happen. The filaments are heated using 6,3 volts and the plate voltage that makes the electrons fly over the electrodes, is over 100 volts.
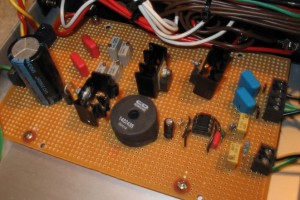
As I was not familiar working with 230 VAC, I wanted a special arrangement instead of a basic line transformer and a rectifier. The tubes are supplied using a simple switch-mode boost converter that makes 170 volts out of 12 volt supply, which was also recommended to me by Tonskulus. It is built around the all-time favorite microchip, the 555 timer, operating as an oscillator to drive a mosfet. The FET charges an inductor and a capacitor, acting as a boost converter.
The filament supply is made using LM317 voltage regulators. The whole power supply circuit is built on a stripboard and it is far from elegant but as my first electronics project it is sufficient. And most of all, it works.
12 volts for the amp is supplied using an external ready-made power supply. Due to a rather high current required, finding a proper supply was quite difficult. I eventually found one that was made for portable refrigerators that also require low voltage but high current.
VU Meters
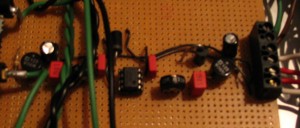
The analog VU meters in front of the amp are for looks only. They are back-lit using blue leds and swing to the music. A vintage audio device is nothing without a pair of analog meters. 😉 They are driven using a pair of operational amplifier chips. The circuit is also constructed on a stripboard, like the power supply.
Sound
The project was quite successful when it comes to the sound quality and the amp has provided quite nice tube sound for almost ten years now. It is still in use, but instead of the solid state power amplifier I had when I built it, it nowadays drives a pair of vintage Dynaco MK III tube power amplifiers that I found in 2006. They are built in 1959, weigh 20 kilograms each, glow red-hot but the sound these amps produce, is well worth of it. This amp was also my first electronics project. There are things that I nowadays would make a little bit different or more elegant way, but why repair something that works! 😉